Difference between revisions of "Connecting the C4D to the PrinCE-C 600 and GPA100"
From eDAQ Wiki
(→Trigger Cable) |
(→Trigger Cable) |
||
| Line 11: | Line 11: | ||
== Trigger Cable == | == Trigger Cable == | ||
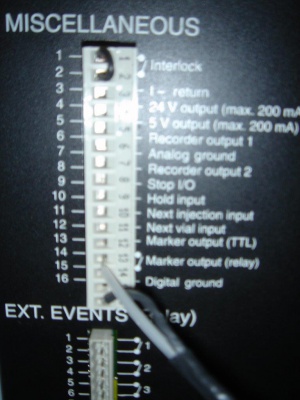
| − | The instrument can be configured to trigger the start of analysis of the contactless conductivity detector, with either [http://www.edaq.com/ES280 PowerChrom software] or [ | + | The instrument can be configured to trigger the start of analysis of the contactless conductivity detector, with either [http://www.edaq.com/ES280 PowerChrom software] or [http://www.edaq.com/ES500 Chart software]. This is achieved by connecting the “Marker output” at the back of the CE instrument to the e-corder or PowerChrom trigger input, using the relevant cable. |
Revision as of 15:51, 7 January 2014
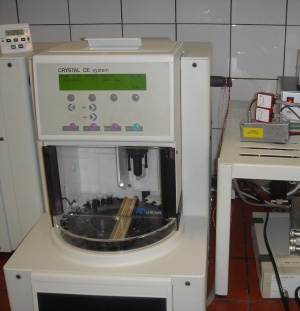
This application note describes how to connect the eDAQ C4D system to the Prince Technologies PrinCE-C 600 series and the Groton Biosystems GPA100 (previously sold as Crystal CE and Unicam CE instruments).
Introduction
The instrument can be used with a range of modular detectors, including UV/VIS, Fluorescence, LIF, MS, Photo Diode Array and the eDAQ C4D system.
Trigger Cable
The instrument can be configured to trigger the start of analysis of the contactless conductivity detector, with either PowerChrom software or Chart software. This is achieved by connecting the “Marker output” at the back of the CE instrument to the e-corder or PowerChrom trigger input, using the relevant cable.


