Waters HPLC with PowerChrom
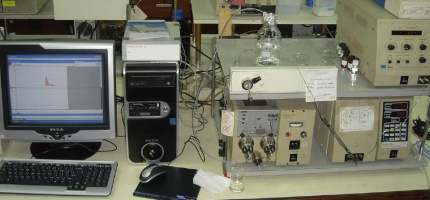
The PowerChrom System can record and analyse data from two detectors on a Waters HPLC.
Contents
Introduction
This application note describes how a Waters HPLC with two detectors and an injection valve, can be connected to either a PowerChrom or e-corder unit. The PowerChrom software is triggered to start recording by the injection valve, and displays the signal from each detector simultaneously. This can be used to upgrade a HPLC which is connected to an integrator.
Equipment Required
- Waters HPLC with Waters 430 Conductivity Detector and Waters 484 Tunable Absorbance Detector
- PowerChrom System
- 3 cables: twisted-pair cables with braided shield
- A computer
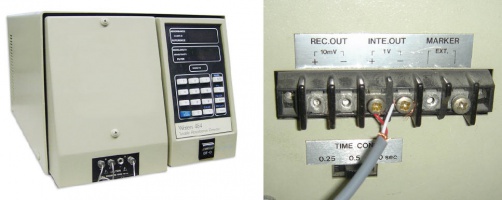
Waters 430 Conductivity Detector
The conductivity detector is connected to Channel 1 of the PowerChrom unit using a twisted-pair cable with braided shield, as shown in Figure 2. The shield wire should be connected to either the COM connector of the PowerChrom unit, or to a ground connection on the detector, but not to both.
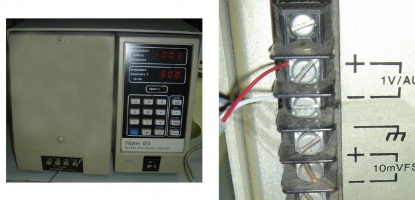
Waters 484 Tunable Absorbance Detector
The absorbance detector is connected to Channel 2 of the PowerChrom unit using a similar cable, shown in Figure 3.
Injection Valve
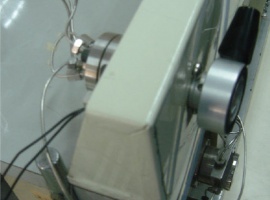
The two black cables from the injection valve are connected to PowerChrom unit’s TRIG + and –, see Figure 4. In the PowerChrom software, the Inject Settings is set to “Wait for Inject”. This setting is shown in Video 1. Turning the injection valve will then trigger the start of the recording.


